
 Salting is an old-fashioned fermenting or curing method for preserving vegetables. This technique was a popular food preservation method in the early twentieth century, especially during the first and second World Wars. Layering food with salt to preserve seasonal vegetables was promoted as an alternative to canning in order to conserve glass, metal, and fuel needed for the war effort.
Overall, the salting method is as much art as science, but very safe and nearly foolproof. Compared to canning salting is quick, easy, and has a lot more leeway. Compared to freezing, it is less expensive and more interesting. It’s become one of my favorite food preservation methods.
How salting preserved vegetables
It is interesting to note that the salt does not preserve the food directly, rather plays a very important role in microbial activity. How much salt you use determines what happens: tangy pickled vegetables or near-fresh “cured” vegetables. Or for that matter, spoiled vegetables if you omit any critical steps.
There are two basic methods for salting vegetables: fermenting and curing. Both are a form of pickling.
- Using low salt concentration will ferment the vegetables and create a tangy pickle. In this case, the role of salt is to create the right environment for desirable lactic acid bacteria (LAB). As LAB, grow, they increase the acidity of the brine and prevent the growth of spoilage bacteria. The result is tangy, pleasantly flavored pickled vegetables, with less sharpness than vegetables preserved in vinegar solutions.
- Using high salt cures vegetables, yet maintains them in a near-fresh state. Many people familiar with salt-cured vegetables consider the product to be far superior in taste and texture to canned or frozen ones. While they don’t ferment (or ferment only slightly), the vegetables are cured, in essence pickled, by replacing their cellular water with brine.
Salting is best used in mild weather, fall or spring. It is not as forgiving when the weather is very warm (above 75°F), or during cold weather if you don’t have a suitable (room temperature) location while the vegetables are fermenting or curing. Since I live in a temperate climate, I enjoy using the salting technique almost year-round, except high summer. If you live in the tropics or where the weather is more extreme, it may not be your “go-to” technique.
Fermented vegetables using low salt
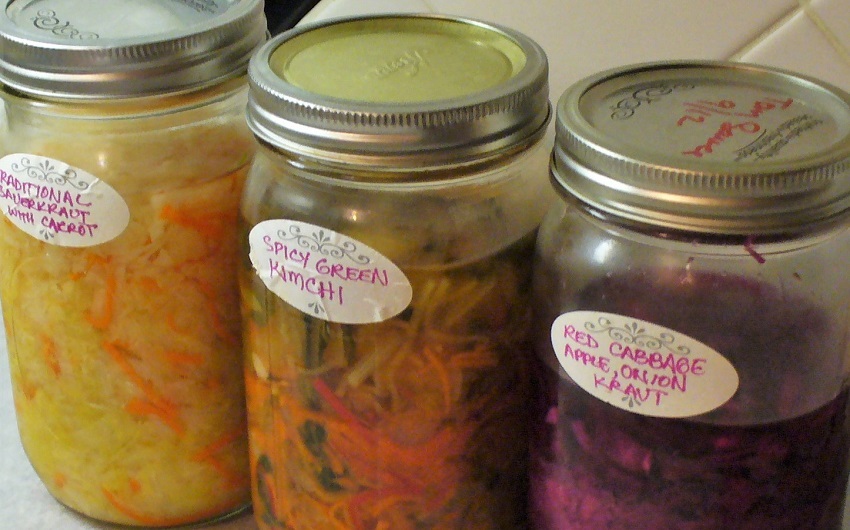
 If you have ever made sauerkraut or kimchi, then you have already used the dry salting method to ferment vegetables. Sauerkraut is made by layering raw shredded cabbage with salt. Other sauerkraut ingredients and seasonings are often added, including apples, carrots, beets, caraways seeds or juniper berries, and sugar, to name a few.
Kimchi is made by layering chopped cabbage with salt and seasonings such as soy sauce and ground dried red chili peppers. As with sauerkraut, other vegetables are often added, such as carrots, daikon (radish), and onion. There are at least 200 varieties of kimchi produced in Korea. So you can see that it’s a very adaptable technique.
In fact, cultures the world over create fermented cabbage concoctions observing local traditions. East Europeans favor shredded turnips over cabbage. Indians fleck cabbage with mustard, fennel, turmeric and other local spices. Latin American cultures add chili peppers to a cabbage-carrot-onion mix. And the list goes on.
In addition to cabbage, almost any other shredded or finely chopped vegetable can be included: beets, carrots, radish, turnip, onion, green beans, kohlrabi, okra, rutabagas, corn kernels, shelled lima beans, and shelled peas. Mixtures of any of these vegetables may also be preserved using the dry salting fermentation technique. The sky—or perhaps your vegetable garden—is the limit to what you can do.
Fresh vegetables cured with salt
Using the same sauerkraut/kimchi technique, if you increase the salt to 20% to 25% of the weight of the vegetables, you prevent the growth of all bacteria, desirable or not. Yes, it’s a lot of salt. By the way, 25% salt is a completely saturated brine. If you add more salt, it won’t dissolve. So 25% is the maximum.
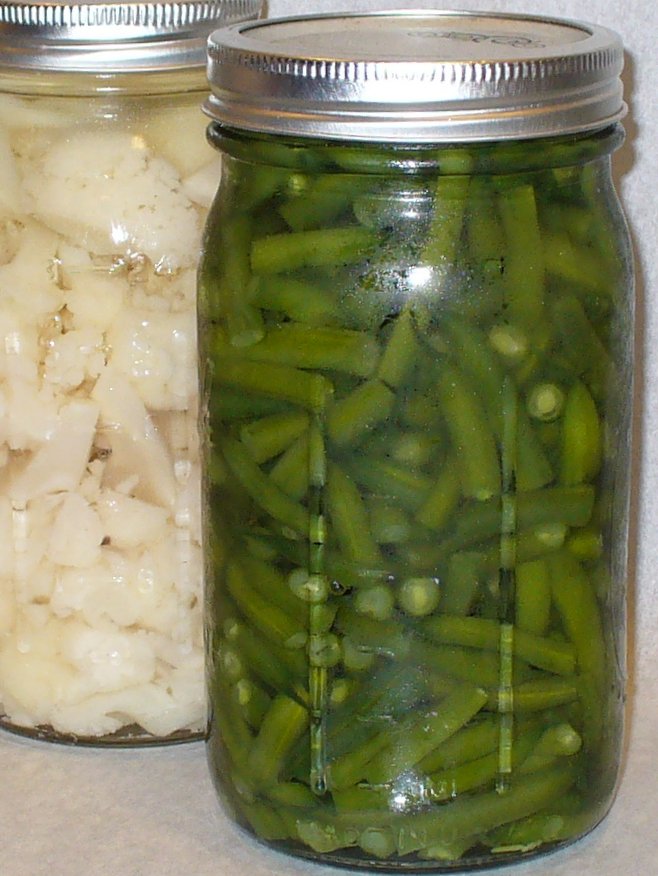
The heavy salt used in this technique is out of step with today’s tastes. You may find that learning to use the salted product requires some experimentation. So, you might want to preserve a small amount (one quart or about 2 to 2½ pounds) of vegetables with this method before preserving an entire crop or bushel of vegetables. I’ve used it with cauliflower, green beans, and tomatoes. All with great success.
Note also that you want to avoid salt concentrations between 5% and 20%, because in this range you may promote the growth of spoilage bacteria, rather than desirable LAB. However, there is a 15% brine-plus-vinegar technique detailed in The Home Preserving. But, I haven’t included that method in this article. For me, the techniques detailed here are more interesting and useful.
Raw vegetables you can use with the high salt technique include thinly sliced celery, okra, and red or green tomatoes, or corn kernels (cut from the cob). Still other vegetables you can preserve with high salt concentration include steam-blanched cut green beans and shelled lima beans or peas. Steam-blanch the vegetables over, not in boiling water, and pat dry thoroughly before weighing to determine the amount of salt to use.
Diced vegetables and small whole vegetables may also be preserved in either or high salt. Since you won’t draw enough water without crushing the vegetables, you must use brine (salt dissolved in water) instead of dry salt. I detail this technique later in this article. If you have ever made naturally fermented cucumber pickles, then you already know this technique.
How to use the dry salting technique
 The dry salting technique mixes shredded or finely chopped vegetables with salt, packs them into a container, removes the oxygen (air), and allows the vegetables to ferment (low salt) or cure (high salt).
While the vegetable mixtures and seasonings are something of an art, there is also some science involved. However, the process is quite forgiving. You will experience success every time if you keep all of your equipment scrupulously clean, measure accurately, and follow the steps precisely, which are listed below.
- Choose fresh vegetables in peak condition. Use the salting technique for mature (slightly underripe) crisp vegetables without any imperfections.
- Use only pickling/canning salt or kosher salt. Table salt (containing additives) and sea salt (containing naturally occurring minerals) can inhibit the salting process, and are more likely to create spoiled ferments or oddly-colored products.
- Sterilize the fermenting/curing vessel and storage containers. Use a clean, sanitized fermenting or curing vessel. Glazed pottery crock is the traditional salting container. However, you may use any nonmetallic, nonreactive vessel, such as food-grade plastic (no garbage or storage bins) or wood. Glass jars also work well. After fermentation or curing is complete, you can store the vegetables in the same vessel, or transfer to sterile containers.
- Low salt concentration ferments the vegetables to create tangy pickles. Using 2½% to 5% weight of salt per weight of vegetables ferments and pickles the vegetables. Use this technique with almost any shredded or finely chopped vegetable: beets, cabbage, carrots, celery, green beans, kohlrabi, corn kernels, shelled lima beans, shelled peas, okra, onion, radish, rutabagas, and turnip. You may also preserve mixtures of any of these vegetables.
- High salt concentration cures the vegetables by maintaining a near-fresh state. Using 20% to 25% weight of salt per weight of vegetables cures the vegetables by preventing the growth of all bacteria, friendly and otherwise. Vegetables to use with this technique include celery, corn kernels (cut from the cob), shelled lima beans, sliced okra, shelled peas, and sliced or “frenched” (thin horizontal slices) green beans. Before layering with salt, steam-blanch these vegetables over, not in boiling water. Be sure to pat the blanched vegetables thoroughly with towels to remove excess moisture before weighing vegetables to accurately determine the amount of salt you need to use.
- Accurately weigh the prepared vegetables and salt if you want a good product. Because salt volume varies greatly from one type and brand of salt to another, measuring salt by volume using cups or tablespoons is very inaccurate. For example, pickling salt weighs twice as much as some brands of kosher salt. So for best results, weigh the salt, don’t measure it. For 2½% to 5% salt concentration, use between 2 and 4 ounces salt for every 5 pounds of prepared vegetables (i.e. after shredding, cutting, blanching, and patting dry). For 20% to 25% salt concentration, 1 to 1¼ pounds salt for every five pounds of prepared vegetables. If you have a gram scale, the measurements are simpler; use 2.5 grams salt for 100 grams vegetables for 2½% salt and 20-25 grams for 20%-25%. There is an exception for small volumes. I routinely use 3 to 3½ teaspoons pickling salt for 2 to 2½ pounds of shredded vegetables (about 6 to 8 cups), and pack them into a quart jar. (Yes, the volume of the salted vegetables reduces by one-third to one-half when correctly packed into the jar). In fact, practicing with small one-quart batches is a good idea when you are learning this technique or trying new mixtures and seasonings.
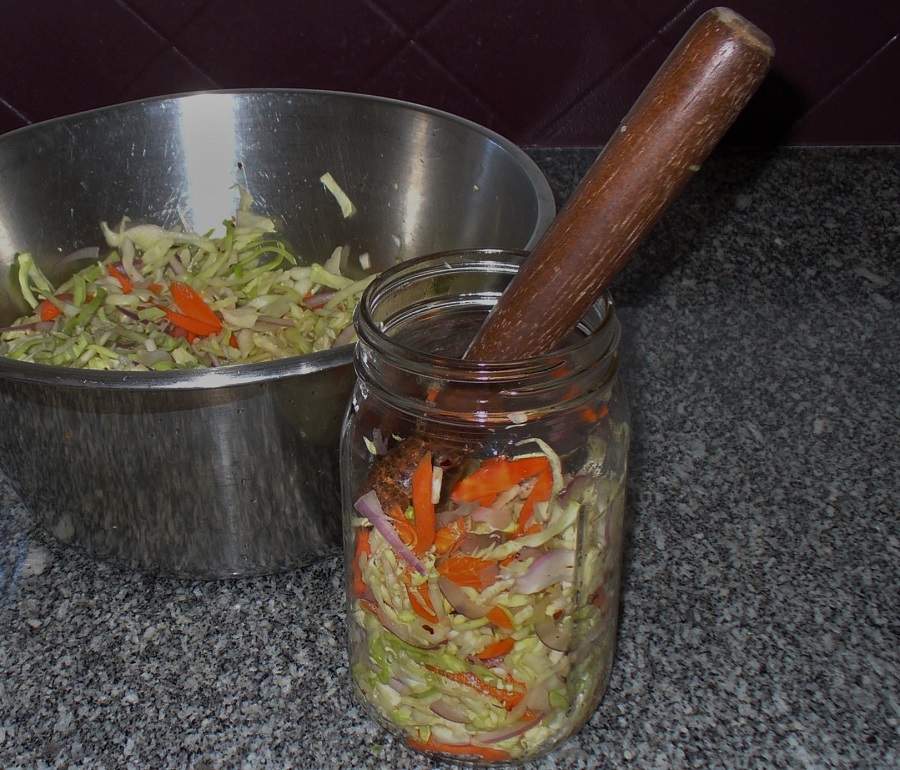
- Mix the vegetables and salt evenly. Mix the vegetables and salt together thoroughly in a clean bowl before packing into the sterile fermenting/curing vessel. It’s okay to squeeze the vegetables as you mix, to start drawing juice. Be sure to scrape all of the salt from the mixing bowl into the fermenting/curing vessel.
- Press or gently pound each layer of vegetables as you pack the mixture into the fermentation/curing vessel, until you draw juice from the vegetables. For cut or sliced (rather than shredded) vegetables you want to gently pound them to draw juice, but without crushing. Fill the container no more than three quarters full, to avoid overflow as the vegetables ferment. There should be enough juice to cover the vegetables by 1-inch. If needed, prepare a brine of the appropriate strength (very weak or very strong, see brine recipes below). Add brine to the fermentation/curing vessel to cover the vegetables completely.
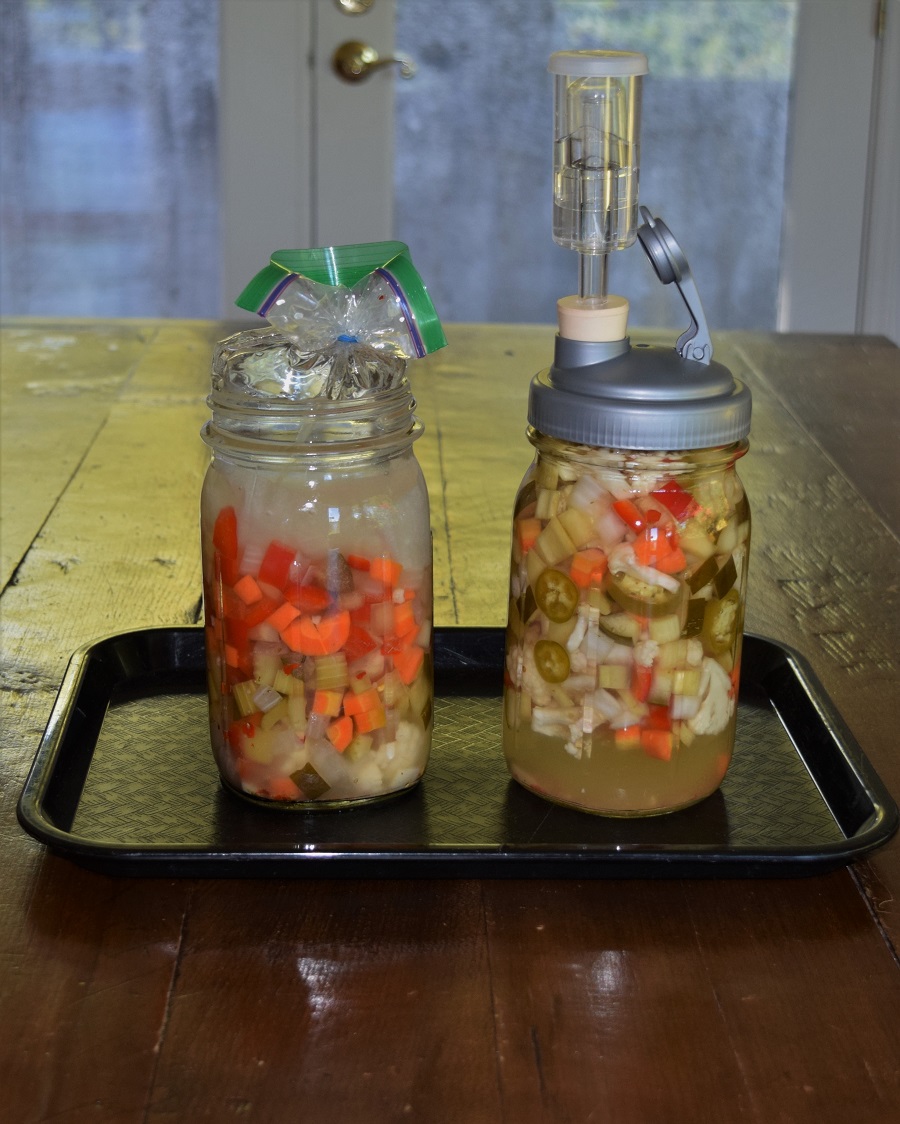
 Cover and then weight the vegetables to keep them submerged in brine at all times. To keep the vegetables submerged in brine, press a cover over them, which can be a piece of plastic wrap or parchment paper, cheesecloth, a Swiss chard leaf, grape leaves, or a cabbage-stem end (a thick slice cut from the stem end). Be sure to press the cover onto the surface of the food without trapping air underneath. Then add a weight on top of the cover to prevent vegetables from floating and exposing them to air. Suitable weights include a brine-filled plastic bag or a water-filled jar. I find that a brine-filled bag works best by bundling the top with a rubber band to create a ball (see photo on the right below). Initially, I fill the bag with about ½ cup brine, but need to come back after several days and add more brine as the vegetables begin to shrink in the curing process. Another modern and nearly foolproof solution is to purchase a fermenting set
. While the brine-filled bag is cheap and easy, it requires more careful attention. The bag technique can fail if the rim of the jar isn’t clean of miniscule vegetable bits (mold loves this), you fail to check it every few days, or the brine bag doesn’t completely close off the jar to air. So, I’ve found the FARMcurious fermenting set
- Place the fermentation or curing vessel on a tray to catch any spillage during fermentation—this is especially important if using a brine-filled bag. Even if you are curing vegetables with high salt concentration of 20%-25%, some bubbling can occur.
- Ferment or cure the vegetables in the optimum temperature range between 64°F and 72°F. At temperatures below 60°F or above 75°F, you may get no fermentation, soft or slimy vegetables, foul-smelling vegetables, or bad-tasting pickled food, any of which must be discarded.
- Fermentation is complete when no more bubbles appear and the product tastes pleasantly tart. I find salt-fermented vegetables to be less tangy and slightly fragrant compared to pickles made with vinegar. Complete fermentation typically takes between 1 and 4 weeks, but depends on ambient temperature. Fermentation takes less time if the room temperature is a little higher, or more if the temperature is lower. I have observed that using the brine-bag seems to ferment faster than a fermenting set, but haven’t corroborated this idea with sources. (Let me know your experience.) If you prefer lightly fermented vegetables, you may refrigerate the product before fermentation is complete, somewhere between 4 and 7 days.
- Curing is complete in 2 weeks. If you are curing vegetables at with high salt concentration of 20%-25% simply store the vegetables after 2 weeks, and the vegetables are firm, crisp and still look and smell fresh (if they do, taste them to confirm).
When to use a brine instead of dry salt
In dry salting, the salt extracts water from the vegetables and creates a brine. In brining, you mix together the salt and water and soak the vegetables in it. Therefore, if you want to use the salting technique for larger pieces of vegetables (rather than shredded or finely chopped), you must use brine (salt dissolved in water). For obvious reasons, it’s not practical to layer vegetables pieces with dry salt, since they won’t draw enough juice without crushing them.
 When using brine, you don’t need to weigh the vegetables. You simply prepare either weak brine (5%) or very strong brine (20%-25%), pour it over the prepared (whole, quartered, sliced, or diced) vegetables, and ferment or cure in the same way (steps 9-13).
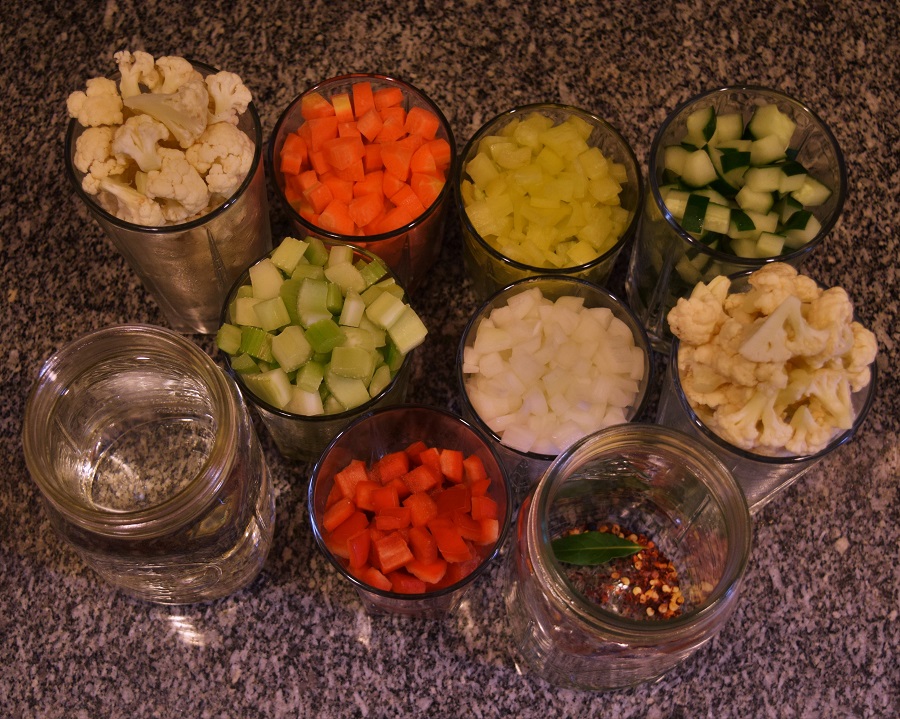
- To ferment vegetables in brine, use weak 5% brine. Leave small vegetables whole or cut larger vegetables into 1- to 2-inch serving pieces. Use this technique for beet, carrot, cauliflower, cucumbers, radish, turnip, onion, green bean, kohlrabi, okra, and rutabaga, plus whole cherry tomatoes, corn kernels, shelled lima beans, and shelled peas. Mixtures of any of these vegetables may also be fermented. Cucumber dill pickles, and Italian-style mixed pickle product giardiniera are example of pickled vegetables that can be made using the brining technique.
- To cure vegetables in brine, use strong 20%-25% brine. Leave small vegetables whole or cut larger vegetables into 1- to 2-inch serving pieces. Use this technique for the same vegetables as listed above for fermenting in weak brine. This technique is not usually used for mixtures, though there is no reason not to do so. It’s a more a matter of preference and intended use.
A few vegetables can benefit from steam-blanching before curing. These include cauliflower florets, whole or cut (1- to 2-inch lengths) green beans, shelled lima beans, and shelled peas. Without blanching, the vegetables may become very firm and require longer cooking when used. So again, it’s a matter of preference. Steam-blanch over, not in boiling water. Be sure to pat the blanched vegetables thoroughly with towels to remove excess water so as not to dilute the brine.
Another use for strong brine is to quickly preserve a crop after harvest until you have time to preserve another way. In this case, add ¼ cup 5% vinegar to the brine. Use the strong brine/vinegar solution to hold washed and trimmed whole beets, carrots, cauliflower (heads or florets), cucumbers, greens (beet, mustard, turnip), kohlrabi, unshelled peas or beans in pods, rutabaga, green or ripe tomatoes, turnips. While these vegetables can be stored in the vinegar-brine up to 6 months, they do need to be put under refrigeration after curing. So storing vegetables by this method tends to be used only as a temporary preservation method today. A century ago, the crock would have been stored over winter in a root cellar—the cold, damp unfinished basement under the farm house. So if you can bury the crock outside or otherwise place it in a cold location, by all means, do so.
How to prepare brine
As mentioned in the steps above, use only pickling/canning salt or kosher salt. Other salts can inhibit the process and may result in spoiled or oddly-colored products. Because salt volume varies greatly from one type and brand of salt to another, measuring salt by volume (cups or tablespoons) is very inaccurate.
In the brine recipes below, I’ve given the weight and volume measurements for pickling/canning salt. If you want to use kosher salt, there is a conversion table for different brands in The Home Preserving Bible by Carole Cancler.
- To prepare a very weak (2½%-4%) brine, stir 1 to 1½ ounces (1½ to 2 tablespoons pickling/canning salt) salt into one quart distilled water until dissolved.
- To prepare a weak (5%) brine, stir 2 ounces (3 tablespoons pickling/canning) salt into one quart distilled water until dissolved.
- To prepare a very strong (20%-25%) brine, stir 10 ounces (1 cup pickling) salt into one quart distilled water until dissolved.
Store prepared brine in the refrigerator up to one month.
If you really get into this, you can measure brine strength with an instrument called a salometer, which measures the salt concentration in degrees (SAL°). Buy a salometer online or where sausage-making supplies are sold. A salometer looks like a large, bloated glass thermometer. You simply float the tool in the brine and take a reading. So if you’re doing a lot of this technique, a salometer can save you some time. A salt brine hydrometer with a test jar
costs between $25-$80. The test jar is a handy, tall plastic or glass cylinder in which to measure your brine with the floating salometer.
How to store salted vegetables
 After fermenting or curing, store salted vegetables in the refrigerator up to 6 months. Storage time is shortened if you routinely remove the container to room temperature for an extended period…such as placing it on the dinner table every night. So remove a portion to a small dish, and do not return them to the container; keep them separate.
Store vegetables salted or brined by any of these method in the fermenting or curing vessel, or newly sanitized container. As with during the fermenting or curing process, keep the vegetables submerged in brine at all times. Add brine of the appropriate strength to the storage vessel anytime the brine level is not ½ to 1 inch above the vegetables.
Keep the brine surface free from scum. Anytime you notice a thin white film on the surface of the brine, be sure to remove it every few days by skimming the surface. “Scum” refers to a thin, clear or white translucent layer.
If the container gets areas of thicker, fuzzy material, that’s mold—mold color may be white, black, green, or blue. Since mold sends microscopic tendrils throughout the liquid, it spoils the entire container. Unfortunately, you must discard product showing any signs of mold. So that’s a good reason to store salted vegetables in smaller containers, such as pints or quarts, even if you prepared them in a one gallon or larger crock.
In addition to mold, soft or slimy vegetables and rotten odors indicate spoilage. Discard vegetables with any sign of spoilage without tasting.
How to use fermented and salted vegetables
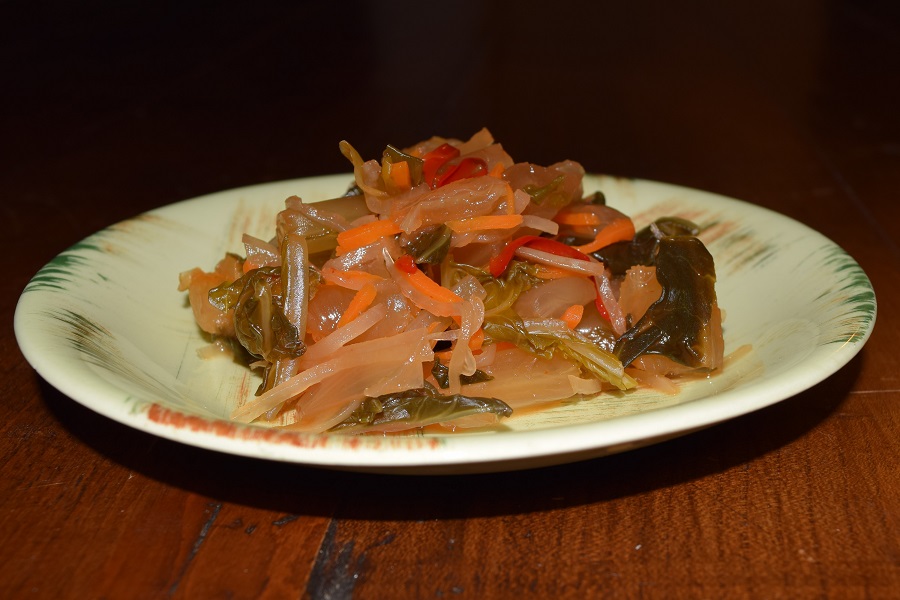
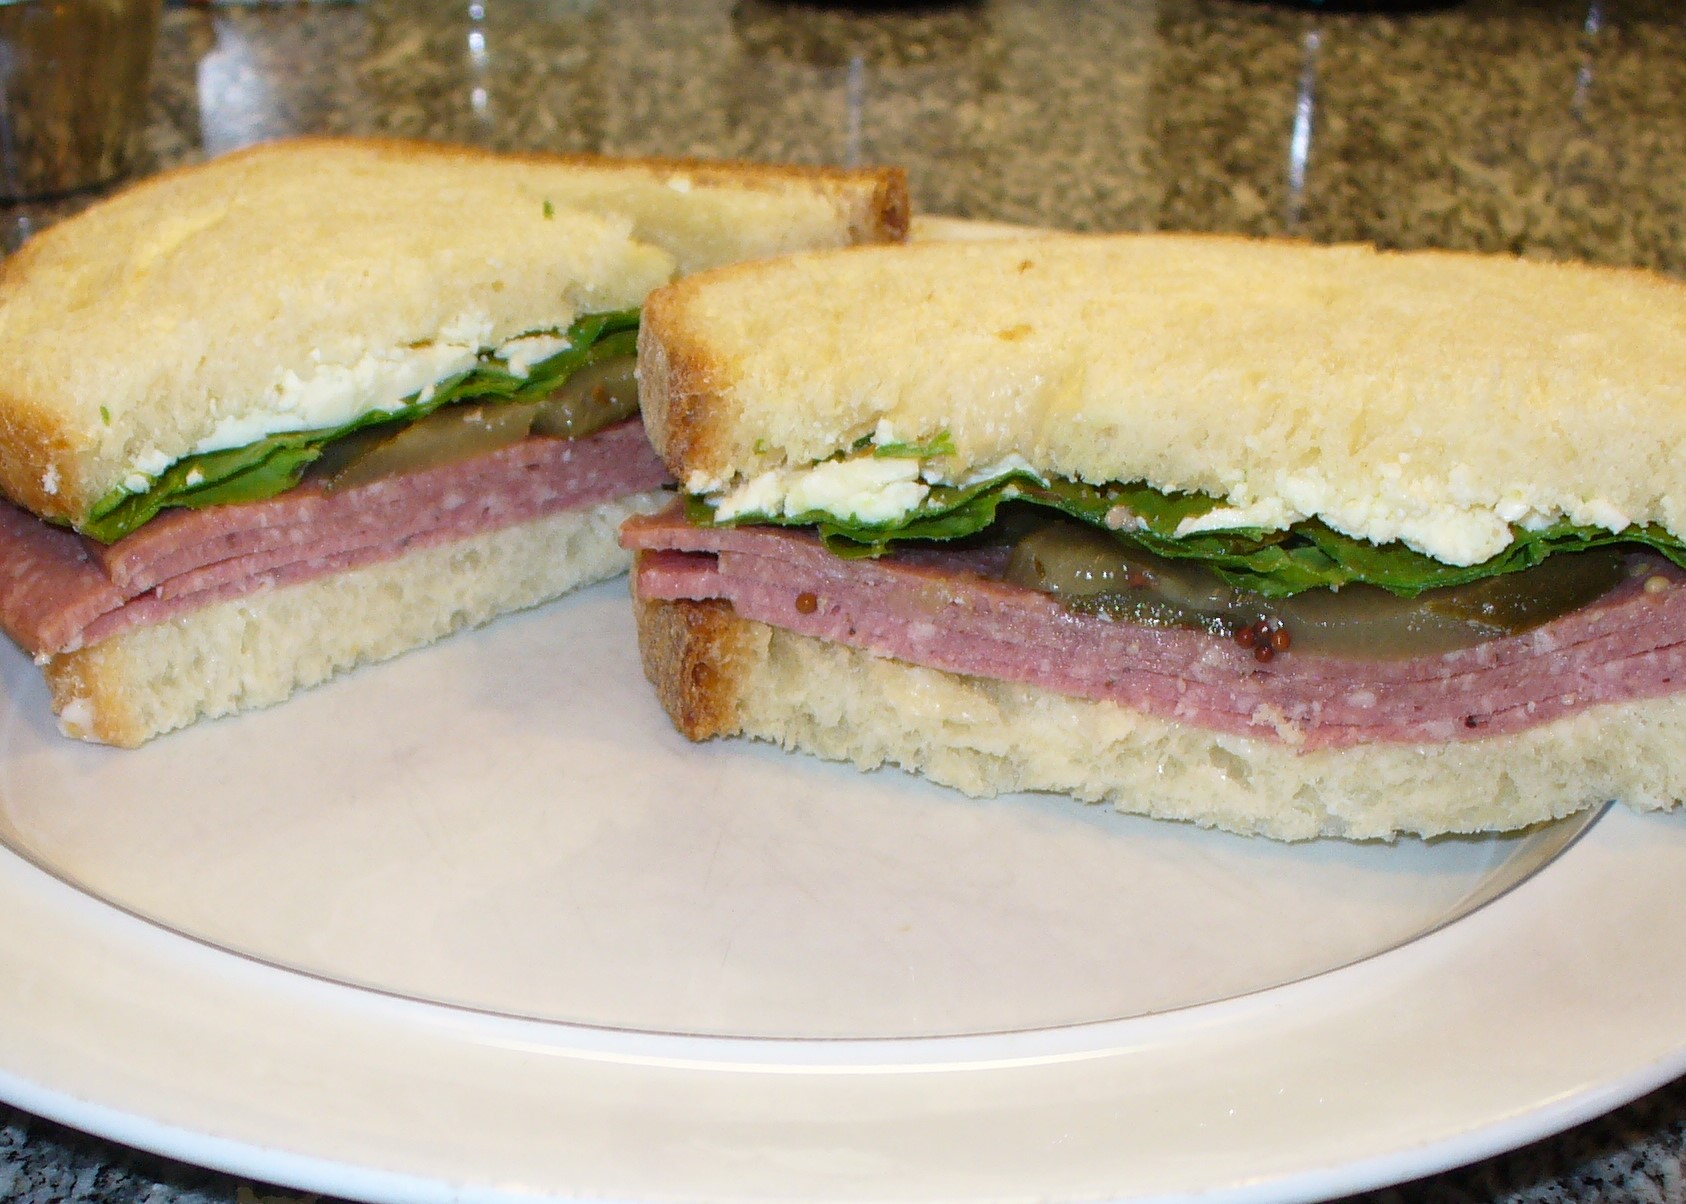 If you prefer, you may rinse fermented vegetables with water to reduce the saltiness or tanginess. Either way, use them like you would relish, pickles, or sauerkraut: garnish a burger or sandwich, accompany roast or grilled meats or sausages, or use them anywhere you want a tangy accent.
When removed from the brine, salted vegetables will be firm and slightly darkened in color. You can prepare and serve them in the same ways you would if they were fresh, including eating raw or adding to salads.
Since the are very salting, soak salt-cured vegetables before using to remove excess salt. Soak vegetables in three or four times their measure of cold water for 2 to 8 hours, or to taste. Change the water several times to speed up the process.
To serve salted vegetables raw, simply drain and pat dry after soaking. Otherwise, prepare cured vegetables as you would any fresh vegetable: steam or saute and toss with butter, top with cheese sauce or cream sauce, or use in a stir-fry.
However, you can use heavily salted vegetables without soaking if you mix them with enough unsalted foods, such as a soup or stew. Estimate ¼ pound salted vegetables for each 2 quarts of soup or stew. Do not use add additional salt called for in the recipe. Taste after cooking the dish and adjust salt just before serving time.
You might also like:
- Salted cauliflower, peas, or green beans in brine without fermenting
- Recipe for fermented sour turnips (kisla repa or sauer ruben)
- How to ferment half-sour cucumber dill pickles in brine
- Lightly fermented Latin-style pickled Cole slaw


