
If you want to try pressure canning low-acid meats and vegetables, here is a short tutorial on the essential concepts and a plan for getting started.
Boiling Water Bath vs. Pressure Canning
As you may know, there are two canning methods: boiling water–bath (BWB) canning and steam-pressure canning. Which method you use depends on whether the foods you want to can are high acid or low acid. High-acid foods include most fruits and fruit products such as jam and applesauce, and vegetable products with added acid, such as pickles or relish.
Because low-acid foods (such as meats and vegetables) lack high-acid protection against heat-resistant bacterial organisms, you need to destroy these bacteria by processing low-acid foods at temperatures higher than boiling water. It doesn’t matter how long you boil a pot of water, it will never get hotter than 212°F. Only by using a pressure canner can you achieve higher temperatures. Therefore, if you want to can low-acid foods such as meats and vegetables, you must use a pressure canner to achieve a temperature of 240°F. You may also want to read about botulism and home canning foods.
Dial Gauge vs. Weighted Gauge
There are two types of pressure canners: dial gauge and weighted gauge. Today, the weighted gauge is more popular and slightly less expensive–this is the type I use; it’s uncomplicated and will last forever. The dial gauge is somewhat easier to use, but must be checked annually before each use by a qualified expert. You may have your dial gauge checked at a county Cooperative Extension office, or contact the manufacturer of your pressure canner.
Using Pressure Canners
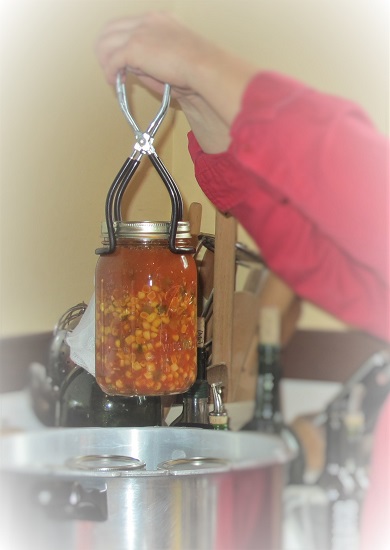
The processing steps are slightly different for pressure canning and BWB canning. In BWB canning, you cover the jars with boiling water, and then boil them for a specified length of time—it’s essentially a one-step process. For pressure canning, the canner must be pressurized before the timing can begin, so it is a two-step process.
Processing times for pressure-canned foods are shorter for the same types of food. For example, quarts of water-packed canned tomatoes require 45 minutes processing time in a BWB canner, but only 10 minutes in a canner pressurized at 10 PSI (Pounds per Square Inch). However, the elapsed time for each method is about the same, because of the time needed to pressurize the canner before processing time can begin, and after processing, to de-pressurize the canner before it can be opened.
Here are the recommended steps to taking the leap into pressure canning:
- Get at least one season experience with BWB canning
- Practice canning different types of high acid foods in a BWB canner throughout the season. Include mixtures and solids, raw and cooked foods, to gain confidence with the process, experience failures, and hone your skills. For example, process fruit jam or applesauce, peaches or pickles, raw-packed fruits or tomatoes, and tomato sauce or vegetable relish.
- Only after you are confident with the BWB canning process should you take the leap into pressure canning.
- Acquire a pressure canner, and familiarize yourself with its features and operation by reading the instruction booklet thoroughly two or three times. All of the other canning equipment is the same as for BWB canning. If you are experienced with the BWB canning process, you only need to focus on the pressure canner operation.
- A good first project for the pressure canner is beef or chicken stock. You can prepare stock from scratch, or simply purchase canned or boxed stock and re-process it at home using the pressure canner. Canning stock is easy to do and helps keep you focused on the canning process rather than the food.
- If you already can tomatoes or tomato sauce in a BWB canner, this is another good choice for a first or second project in the pressure canner. If you are already very familiar with these foods in a BWB canner, then it’s easy to translate the process to a different type of canner with confidence.
Other than the canners and slight difference in processing steps, the other equipment and tasks are the same. You need canning jars with two-piece canning closures (flat lids and screw bands), and a jar rack to hold the jars off the bottom of the canner. You need to use a tested recipe that tells you exactly how to prepare the food, fill the jars up to the correct headspace, and process accurately according to the specified time and jar size.


